This comprehensive tutorial walks you through the entire process of synchronizing a Keydiy C29Ax71 smart key using the KD-X4 programmer and the KEYDIY 13# remote chip adapter. Whether you're dealing with NCF29A1, NCF29A4, NCF29A2, NCF2953, NCF29A3, or NCF2954 chips, this method ensures a smooth clone without requiring vehicle-side programming. Follow each step carefully to achieve a fully functional smart key replacement.
Supported Chip Types & Compatibility
The following NCF29A series chips are fully compatible with this synchronization workflow: NCF29A1, NCF29A4, NCF29A2, NCF2953, NCF29A3, NCF2954. These chips are commonly found in modern vehicle smart key PCBs. The KEYDIY ZB71 remote shell works seamlessly after data transfer.
Required Tools & Equipment
Before starting, gather all necessary tools to avoid interruptions:
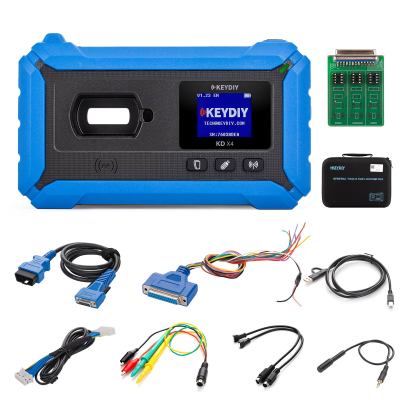
- KEYDIY KD-X4 – Main programmer and diagnostic tool.
- KEYDIY 13# Remote Chip Reading Adapter (NCF29Ax adapter board).
- Original working smart key (containing the donor NCF29Ax chip).
- KEYDIY ZB71 Smart Key (blank remote shell to receive the cloned data).
- Fine-tip soldering iron, desoldering braid/wick, tweezers, and magnifying glass (recommended for safe chip handling).
- 6-pin programming cable (included with KD-X4 kit).
Pro tip: Work on an anti-static mat and use temperature-controlled soldering iron (around 350°C) to prevent damaging the delicate NCF29Ax chip.
Step-by-Step Synchronization Process
Step 1 – Extract the Original NCF29Ax Chip
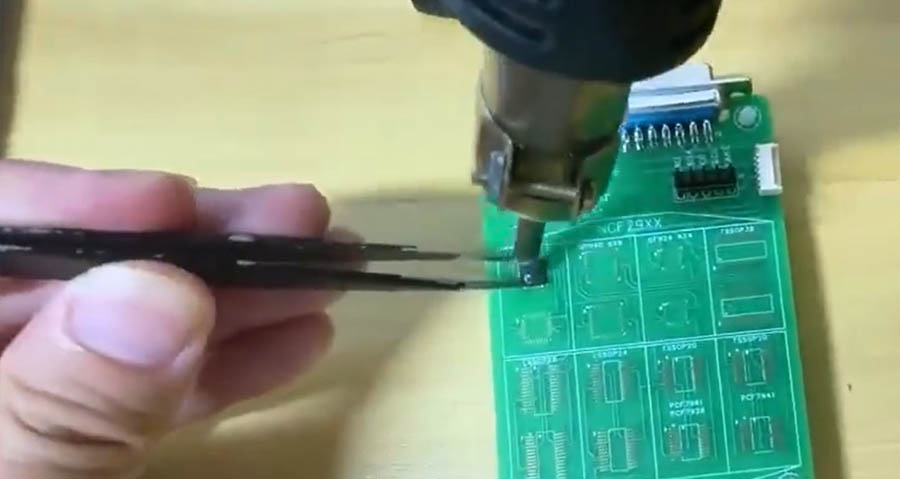
Carefully disassemble the original smart key housing using a plastic pry tool. Locate the main PCB and identify the NCF29Ax chip (usually a small QFN package). Using a hot air station or fine-tip soldering iron with desoldering braid, gently remove the chip from the PCB. Take extreme caution not to overheat the chip or lift any pads. Once desoldered, clean the chip’s contacts with isopropyl alcohol for better adhesion later.
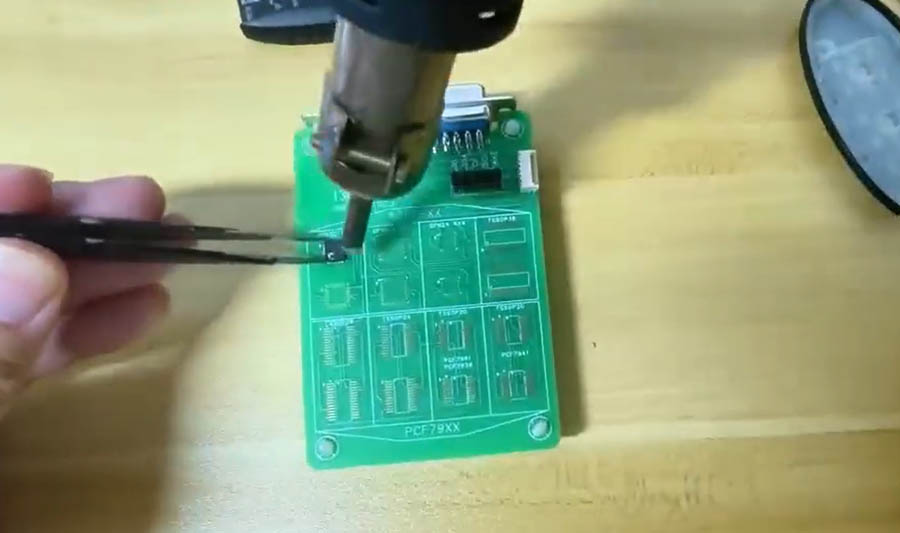
Step 2 – Solder the Chip onto the KD #13 Adapter Board
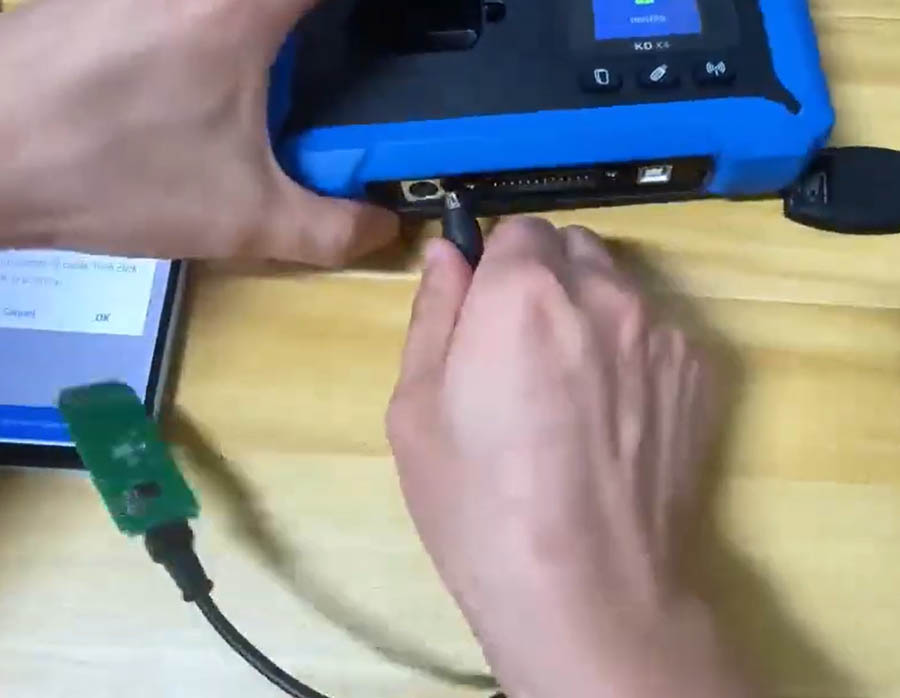
Place the extracted NCF29Ax chip onto the KEYDIY 13# NCF29xx adapter board, aligning pin 1 with the marked orientation on the adapter. Solder each pin carefully, ensuring no bridges or cold joints. After soldering, inspect under magnification. Then connect the adapter board to your KD-X4 programmer using the provided ribbon cable or pin header. The KD-X4 should recognize the adapter automatically once powered on.

Step 3 – Read Chip Data Using KD App
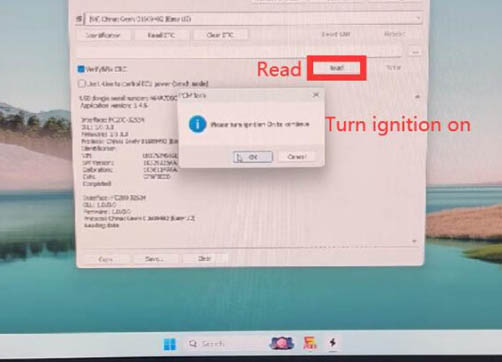
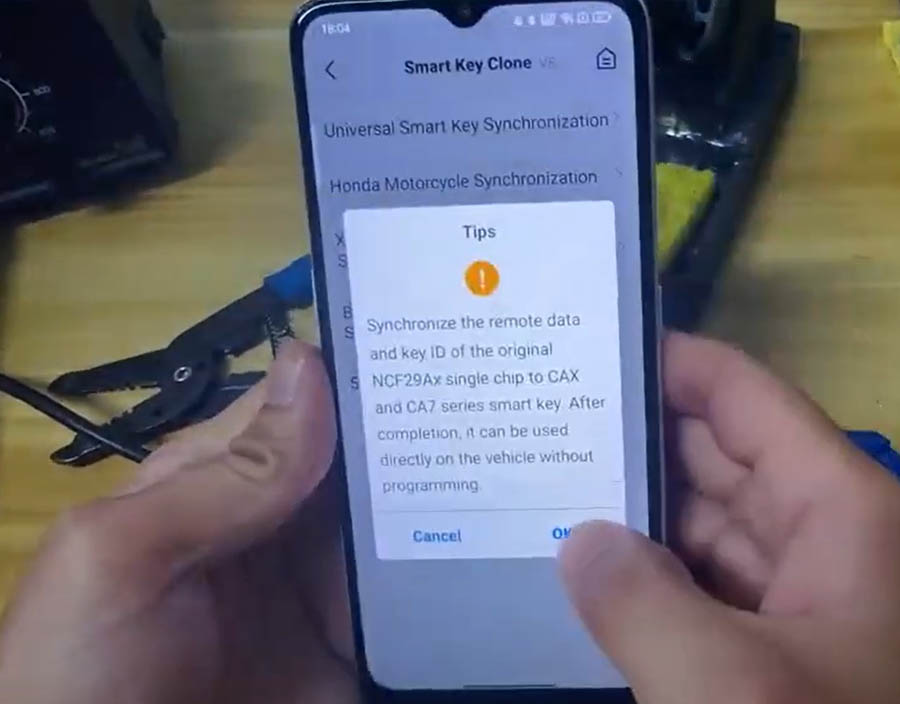
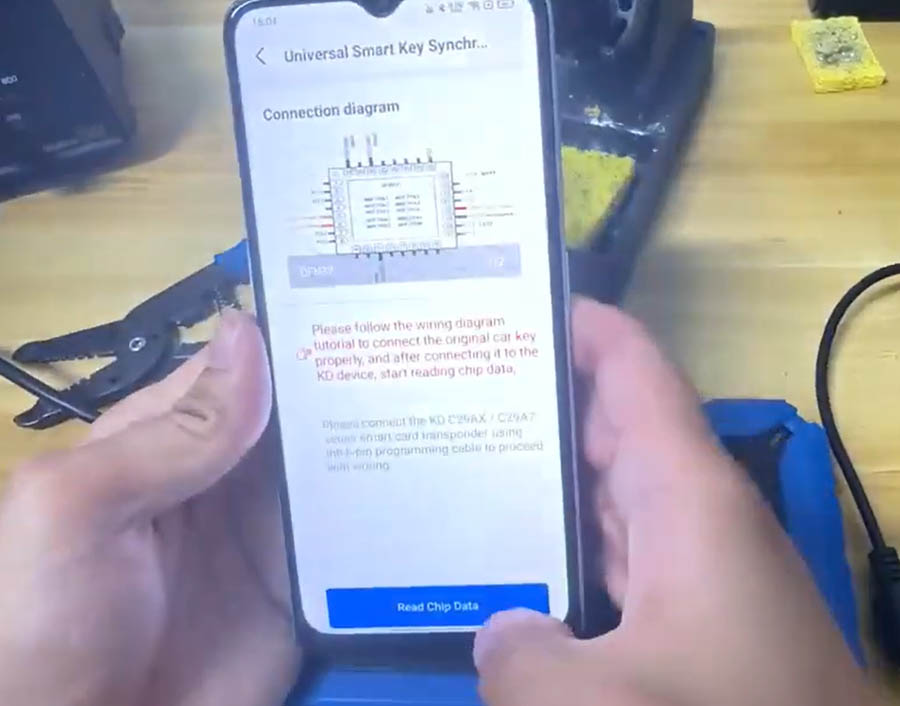
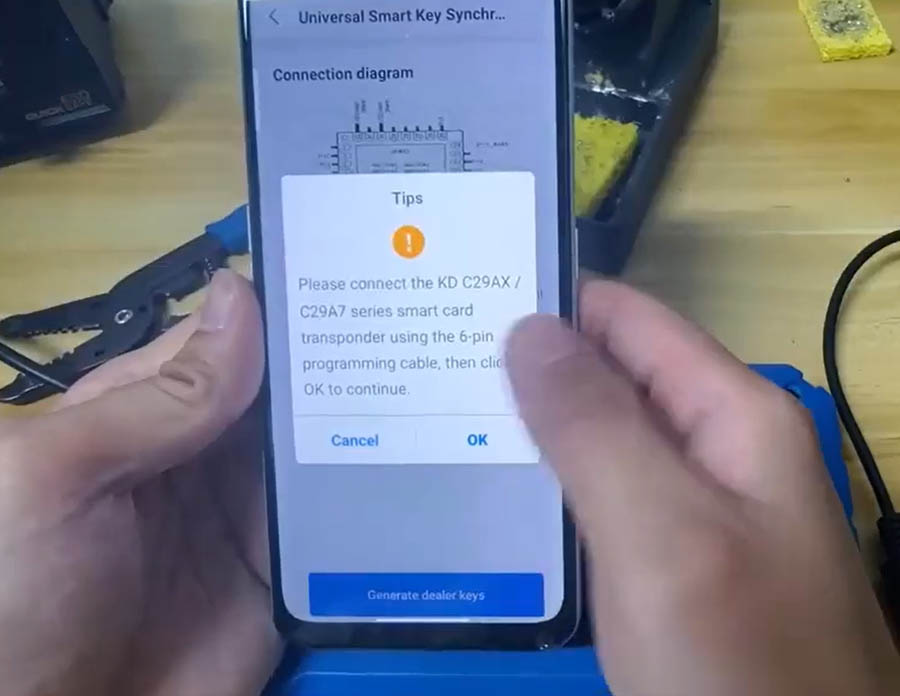
Launch the official KD App on your mobile device or PC (ensure KD-X4 is connected via Bluetooth or USB). Navigate through the menu: Remote Function → Smart Key Clone → Universal Smart Key Synchronization. The app will automatically detect the chip on the adapter. Click “Read” to extract the unique ID, cryptographic data, and configuration from the NCF29Ax chip. Wait for the read process to complete (typically 10–20 seconds). Do not disconnect the adapter during reading.
Step 4 – Write Data to the New KEYDIY ZB71 Smart Key
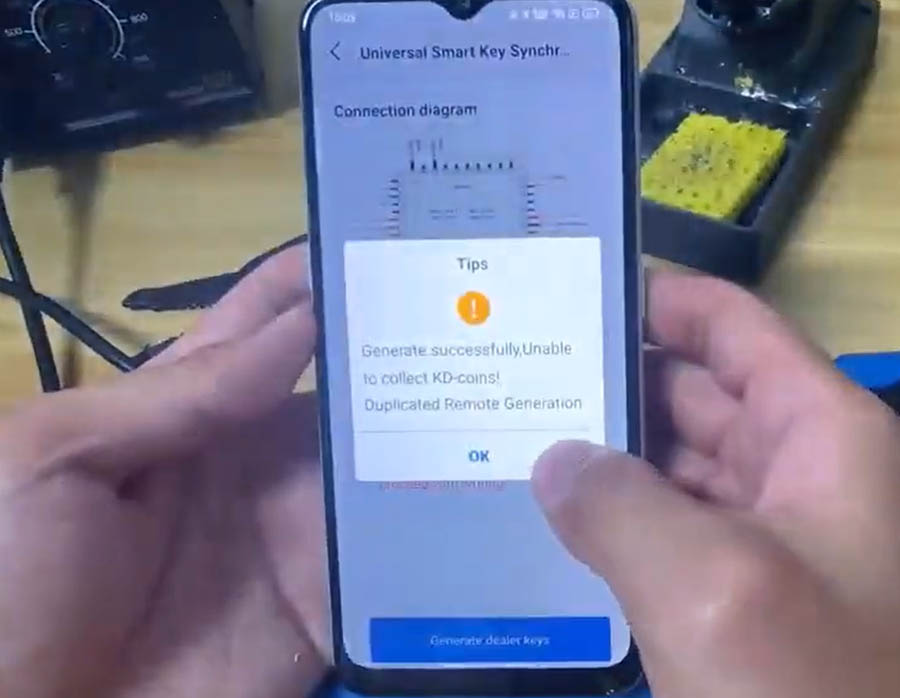
After successful data reading, power off the KD-X4 and carefully desolder the NCF29Ax chip from the 13# adapter board. Re-solder the chip back onto its original key’s PCB (the same vehicle key you extracted it from). This step preserves the original key’s functionality. Next, take your blank KEYDIY ZB71 Smart Key and connect it to the KD-X4 using the 6-pin programming cable (align the cable’s notch with the ZB71’s programming port). Open the KD App again, go to the same “Universal Smart Key Synchronization” section, and select “Write.” The app will transfer the previously saved chip data into the new ZB71 remote. Once the progress bar reaches 100%, the clone is complete.
Step 5 – Final Assembly & Testing
Disconnect the 6-pin cable from the ZB71 remote. Assemble the KD ZB71 remote shell by snapping the front and rear covers together, ensuring the rubber buttons align correctly. Insert the battery (usually a CR2032) and close the case. The new smart key is now fully synchronized and ready for use. No additional vehicle programming or OBD learning is required – simply test the lock/unlock, trunk, and remote start functions near your vehicle. If everything works, you have successfully cloned the original key.
Important Notes & Troubleshooting Tips
- Always keep a backup of the original chip data before writing to the new remote.
- If the KD App fails to read the chip, re-check solder joints on the adapter and ensure the chip orientation is correct.
- For ZB71 writing errors, try reconnecting the 6-pin cable or restarting the KD-X4.
- This method works for most vehicles using NCF29Ax series chips; however, some high-security systems may require additional steps.
- Use the latest version of KD App and firmware for optimal compatibility.
By following this guide, you can efficiently replace lost or damaged smart keys without expensive dealership programming. The Keydiy C29Ax71 synchronization solution saves time and money while delivering professional-grade results.